A Guide to BookTrail Origami
Book decorations for any occasion
I recently started to experiment with origami. Made a few animals and then thought it would be good to decorate some books. Make bookshelves even more decorative. Why not make ornaments out of books I want to keep but don’t read to make the bookshelves stand out even more?
Well, I had a few gos and came up with this flourish:
What you will need
two sheets of A4 paper (same colour or different it doesn’t matter)
tape and pritt stick
Pom poms or stickers for decoration
You can use a ruler for extra precision but this is not needed.
Step 1
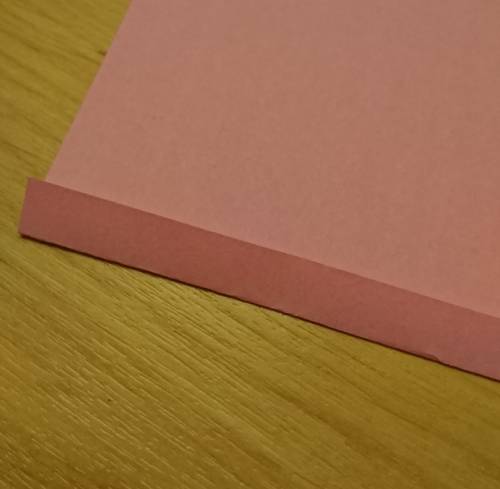
Wrap your book up as normal using one of the a4 sheets
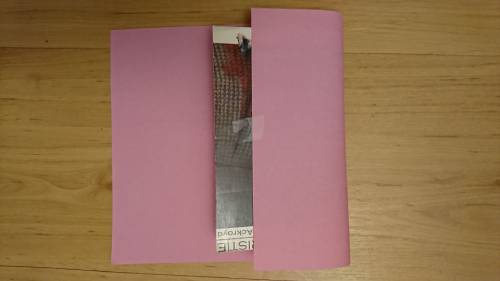
Step one
Step 2
With the second piece of paper, you’re going to make a concertina
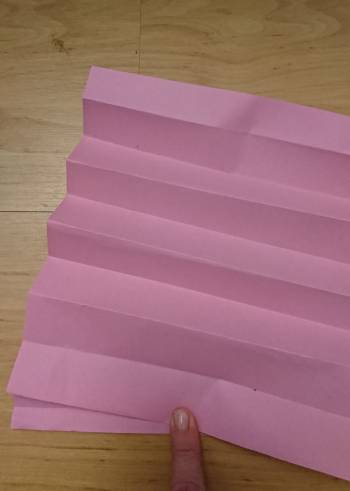
Place the paper portrait mode then starting at the bottom, make a fold about a centimetre. Just told it and then score it with your finger. Unless you are Hyancinth Bucket in which case you might see fit to use a ruler.
Step 2
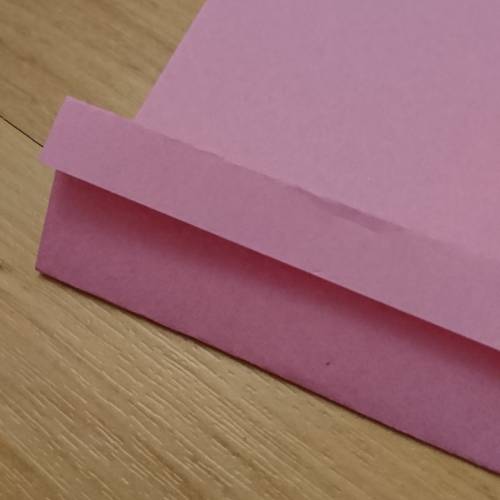
Step 3
Turn the paper over and make a fold about 2 centimetres wide:
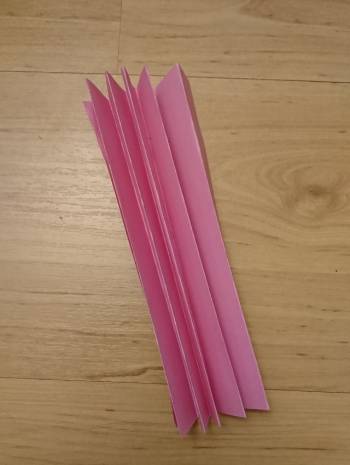
Step 4
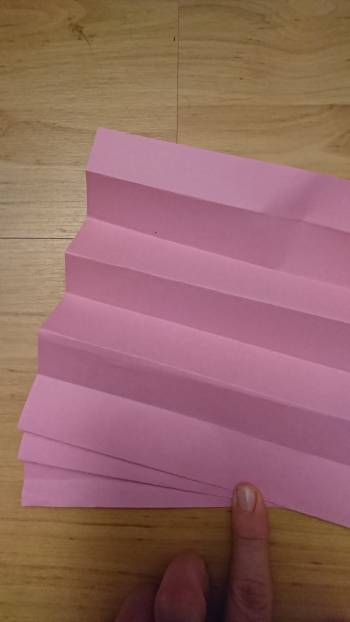
Contiue until you have a concertina. All panels don’t have to be the same size. the last one is going to be smaller – just like the initial one you made
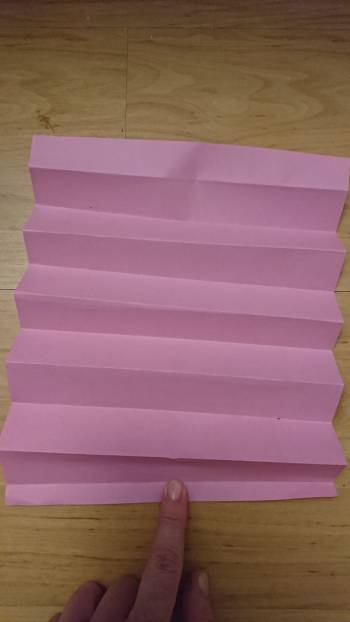
Step 5
Now comes the most creative part. Open your concertina. Be amazed at what you have just made. This was my first origami, so I was thrilled I’d managed to make this look half decent haha. Take a break. Eat some cake. And then…..
Step one
Step 6
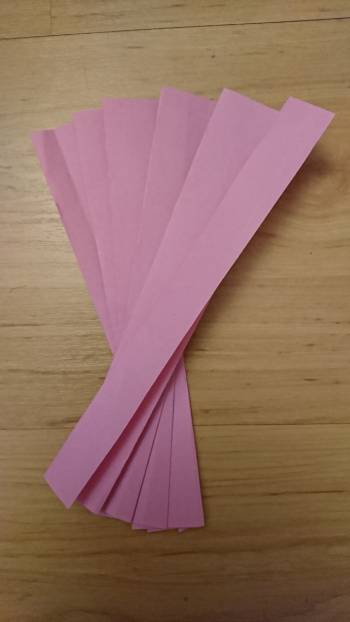
Place your index finger on the middle of the concertina – on the smaller one you made first. NOW, take a deep breath as you are going to be amazed if this works (which it will if you’re like me and you try a few times haha)
What you are going to do, is pinch the second fold on the concertina and pull it towards you in the middle. The side should fan out and not match up. Look it’s easier if you look at this:
Step 7
Then once you have that, do it again!
Step 8
Look! It’s starting to look fan like, right?
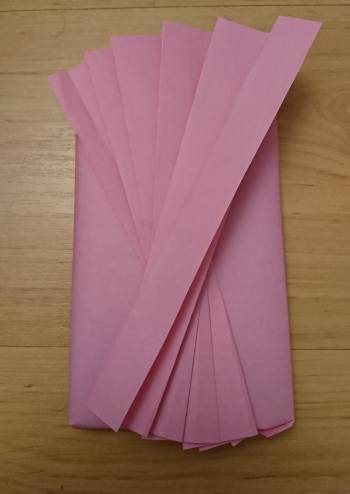
Continue until the end. It should look fairly similar to this. If not, go away, have some chocolate and then return to the task.
Step 9
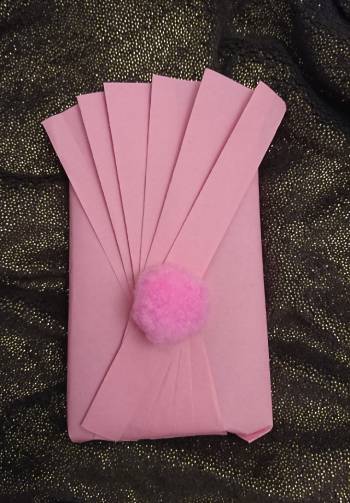
Attach it to the front of your book you prepared earlier. ( Ooh I sound like a Blue Peter presenter!!)
Step 10
This is when the sticky tape comes in handy. Use it to stick the design to the book. You can use it behind the fan to fix it so the tape doesn’t show. Use the pritt stick to glue the first two folds together on the front for added flatness.
Pop on a pompom or stick as in the main picture if you fancy!
I have wrapped a few books now so make sure these are ones you are not going to read for a bit. I have also wrapped books as gifts too. – If you use this method to wrap a present and someone moans they can see the tape – make a note to give them something in a plastic bag next time eh?
Now, give yourself a reward of another piece of cake. You have done some book origami !